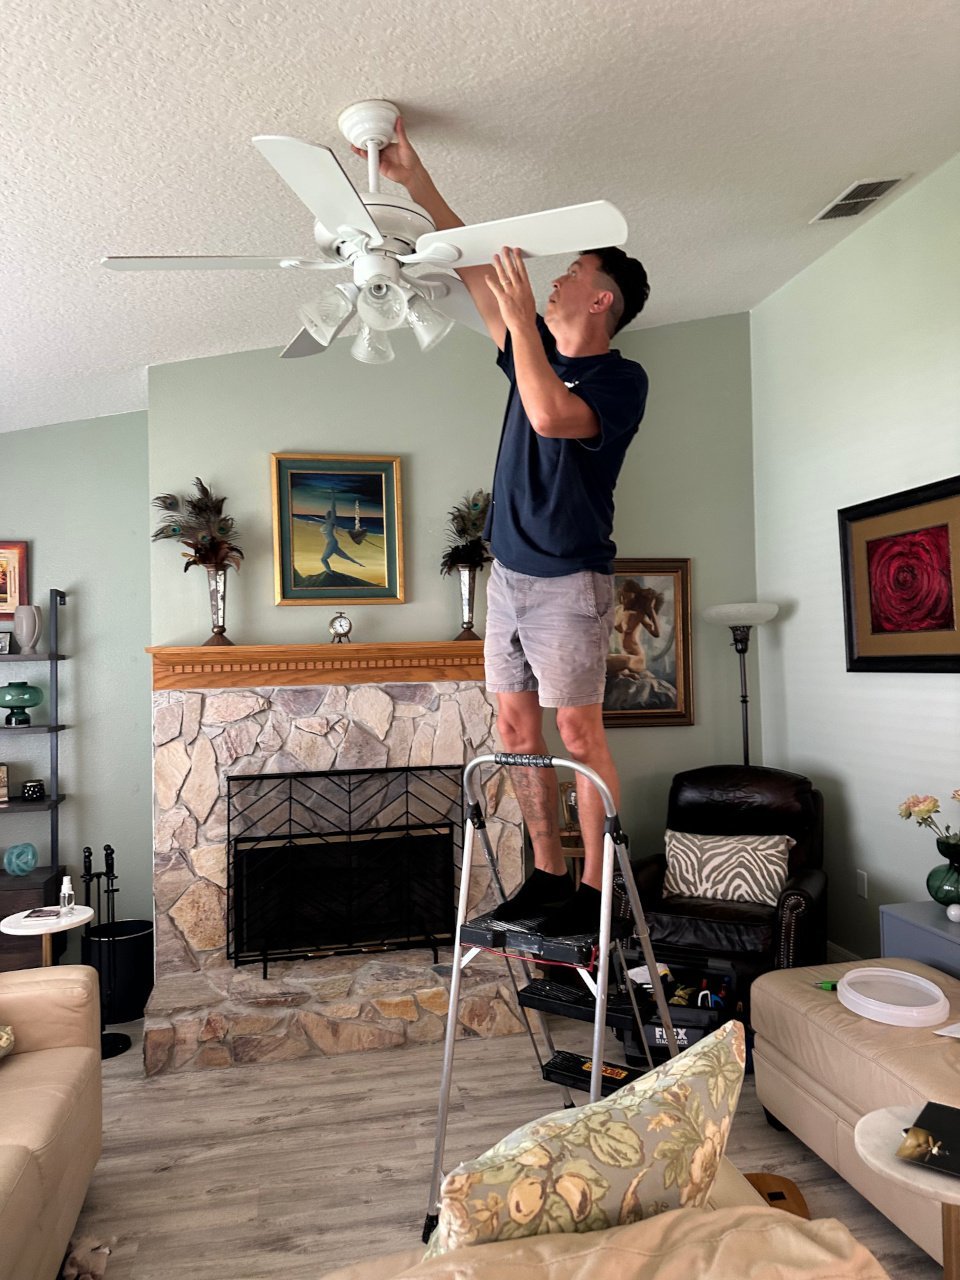
A ceiling fan is one of the highest-value DIY projects in a home: it cuts cooling costs, improves comfort year-round, and costs a fraction of what an electrician charges. Professional installation runs $150–$350 per fan; DIY costs only the fan itself ($50–$250). But you’re working with household electricity and a heavy spinning object overhead, so “safely” is the operative word. Here’s how to install a ceiling fan by yourself safely, with every precaution that matters.
Safety First: The Non-Negotiables
Read this whole section before touching anything:
- Turn off the breaker — not just the wall switch. Switches can be miswired; breakers don’t lie. Tape the breaker in the off position and tell everyone in the house.
- Verify with a non-contact voltage tester ($15–$25). Test it on a known-live outlet first to confirm it works, then test every wire in the ceiling box. This $20 tool is the difference between safe and sorry.
- Never work alone on a ladder. Have someone nearby — not to help wire, but to steady the ladder and call for help if something goes wrong.
- Use a proper ladder at the right height — you want the work at chest level, not overhead-stretching. See our guide to safe ladders for high ceilings.
- Know your limits. If the wiring looks strange (knob-and-tube, aluminum wiring, no ground wire), stop and call an electrician. A $200 service call beats a house fire.
Check That Your Ceiling Box Can Handle a Fan
This is the step most DIY guides gloss over, and it’s the most important one. A standard light fixture box is NOT rated to support a ceiling fan. A fan vibrates and weighs 15–50 pounds; it needs a fan-rated box marked “acceptable for fan support,” secured to a joist or with a brace bar.
- Open the existing fixture and look at the box. Fan-rated boxes are typically metal and stamped with the rating.
- If it’s a plastic nail-on box (common for lights), you must replace it. A retrofit fan brace bar ($20–$30) expands between joists through the existing ceiling hole — no attic access needed. This is the standard DIY solution and it’s solid.
- If you have attic access, you can screw a fan-rated box directly to the joist — even better.
Skipping this step is how fans end up wobbling, and wobbling fans eventually end up falling. Don’t skip it.
How to Install a Ceiling Fan by Myself Safely: Step by Step
Step 1: Prep
Breaker off, verified dead with the tester. Remove the old fixture, keeping track of which wires connect where (photo everything). Install the fan-rated box or brace bar if needed.
Step 2: Assemble the fan
Assemble the motor, downrod, and canopy on the floor following the manufacturer’s instructions — much easier than assembling overhead. Thread the wires through the downrod before attaching it. Attach blade brackets to blades now too (but many pros attach blades after hanging the motor — less weight to lift).
Step 3: Hang the motor
Most fans have a hanging bracket that mounts to the ceiling box; the motor assembly hooks onto it, leaving your hands free for wiring. This is the clever part of modern fan design — use it.
Step 4: Wire it
Standard connections: black to black (fan power), white to white (neutral), green/bare to green/bare (ground). If there’s a separate blue wire (light kit) and only one wall switch, connect blue to black. Use the included wire nuts, tug-test each connection, and tuck wires neatly into the box — no bare copper showing, no pinched wires.
Step 5: Secure and test
Slide the canopy up, tighten all set screws, attach blades, install the light kit and bulbs. Restore power and test all speeds plus reverse. A slight wobble at high speed is common — use the included balancing kit (small weights that clip to blades) to dial it out.
Family Handyman’s ceiling fan installation guide has detailed wiring diagrams if you want a visual reference.
Set the Direction Seasonally
The little reverse switch on the motor isn’t decorative:
- Summer (counterclockwise): Blades push air down, creating a wind-chill effect. Lets you set the thermostat ~4°F higher comfortably.
- Winter (clockwise, low speed): Gently pulls cool air up and pushes trapped warm air down from the ceiling without creating a draft.
Used correctly with your thermostat, a fan can cut cooling costs noticeably — it’s one of the best energy upgrades for the money.
Common Mistakes to Avoid
- Mounting to a non-fan-rated box (the big one)
- Working with just the wall switch off instead of the breaker
- Skipping the voltage tester verification
- Mounting the fan too low — blades must be at least 7 feet above the floor
- Overtightening blade screws (cracks the blade arms) or undertightening (wobble city)
- Forgetting to check downrod length — high ceilings need longer downrods for effective airflow (blades ideally 8–9 feet above floor)
Maintaining Your Fan (The 5-Minute Yearly Job)
Ceiling fans are nearly maintenance-free, but one yearly check keeps them quiet and safe. Tighten everything: blade screws, downrod set screws, and the mounting bracket — vibration slowly loosens hardware over years, and loose hardware is the cause of most “my fan suddenly wobbles” complaints. Clean the blades: dusty blades wobble (uneven weight) and throw dust everywhere. An old pillowcase pulled over each blade captures dust instead of spreading it — the classic housekeeper’s trick.
Check the balance yearly with the balancing kit that came with the fan — if a wobble developed, a clip-on weight fixes it in minutes. Oil only if it’s an older oil-bath model (most modern fans use sealed bearings that never need oil — check your manual; adding oil to sealed bearings just makes a mess).
If the fan develops a hum, it’s usually a loose canopy or mounting — tighten first. Persistent electrical humming after tightening can indicate a failing capacitor or motor issue; that’s electrician territory, not a DIY fix.
The Bottom Line
Installing a ceiling fan yourself safely comes down to: breaker off and verified, fan-rated box secured to structure, careful wiring with tug-tested connections, and balanced blades. It’s a 2–3 hour project that saves $150–$350 and pays you back every summer in lower cooling bills. Respect the electricity, don’t rush the box, and you’ll have a rock-solid fan humming quietly overhead for decades. Pair it with a smart thermostat or smart switch and you’ve got genuinely modern climate control on a DIY budget.