Feel that cold whisper around your windows on a windy night? That’s your heating bill literally leaking out. Air gaps around windows are among the biggest sources of heat loss in older homes — the Department of Energy estimates air leaks can account for 25–30% of heating energy waste. The fix is cheap, fast, and deeply satisfying. Here’s the best way to seal gaps around windows for winter, from 10-minute fixes to weekend projects.
Find the Leaks First (Don’t Guess)
Before buying anything, locate the actual gaps. On a cold, windy day:
- The hand test: Slowly move a damp hand around window edges — moving air feels dramatically colder on wet skin.
- The candle/incense test: Hold a lit incense stick near edges; flickering smoke reveals leaks. (Keep flame away from curtains, obviously.)
- The dollar bill test: Close the window on a dollar bill — if it slides out easily, the seal is weak there.
- Look in daylight: Visible daylight around the frame = a gap, full stop.
Check both where the window meets the frame (operable seals) and where the frame meets the wall (structural gaps) — they need different fixes.
Fix #1: Caulk the Exterior and Interior Frame Gaps
For gaps where the window frame meets the wall or siding — the cracks you can see — exterior-grade caulk is the answer:
- Scrape out old, cracked caulk with a putty knife or caulk remover tool.
- Clean the joint and let it dry.
- Apply a smooth bead of silicone or siliconized acrylic caulk (exterior-rated outside).
- Tool the bead with a wet finger for a clean finish.
Cost: ~$8 per tube, and one tube does several windows. Never caulk the weep holes at the bottom of the exterior frame — those drain water by design. And don’t caulk operable parts shut; caulk is for stationary joints only.
Fix #2: Weatherstripping for Operable Windows
For the moving parts — where sashes meet frames — weatherstripping is the fix. Match the type to the gap:
- V-strip (tension seal): Folded plastic or metal that springs to fill gaps along sash sides. Durable, nearly invisible, great for double-hung windows. ~$8–$12 per window.
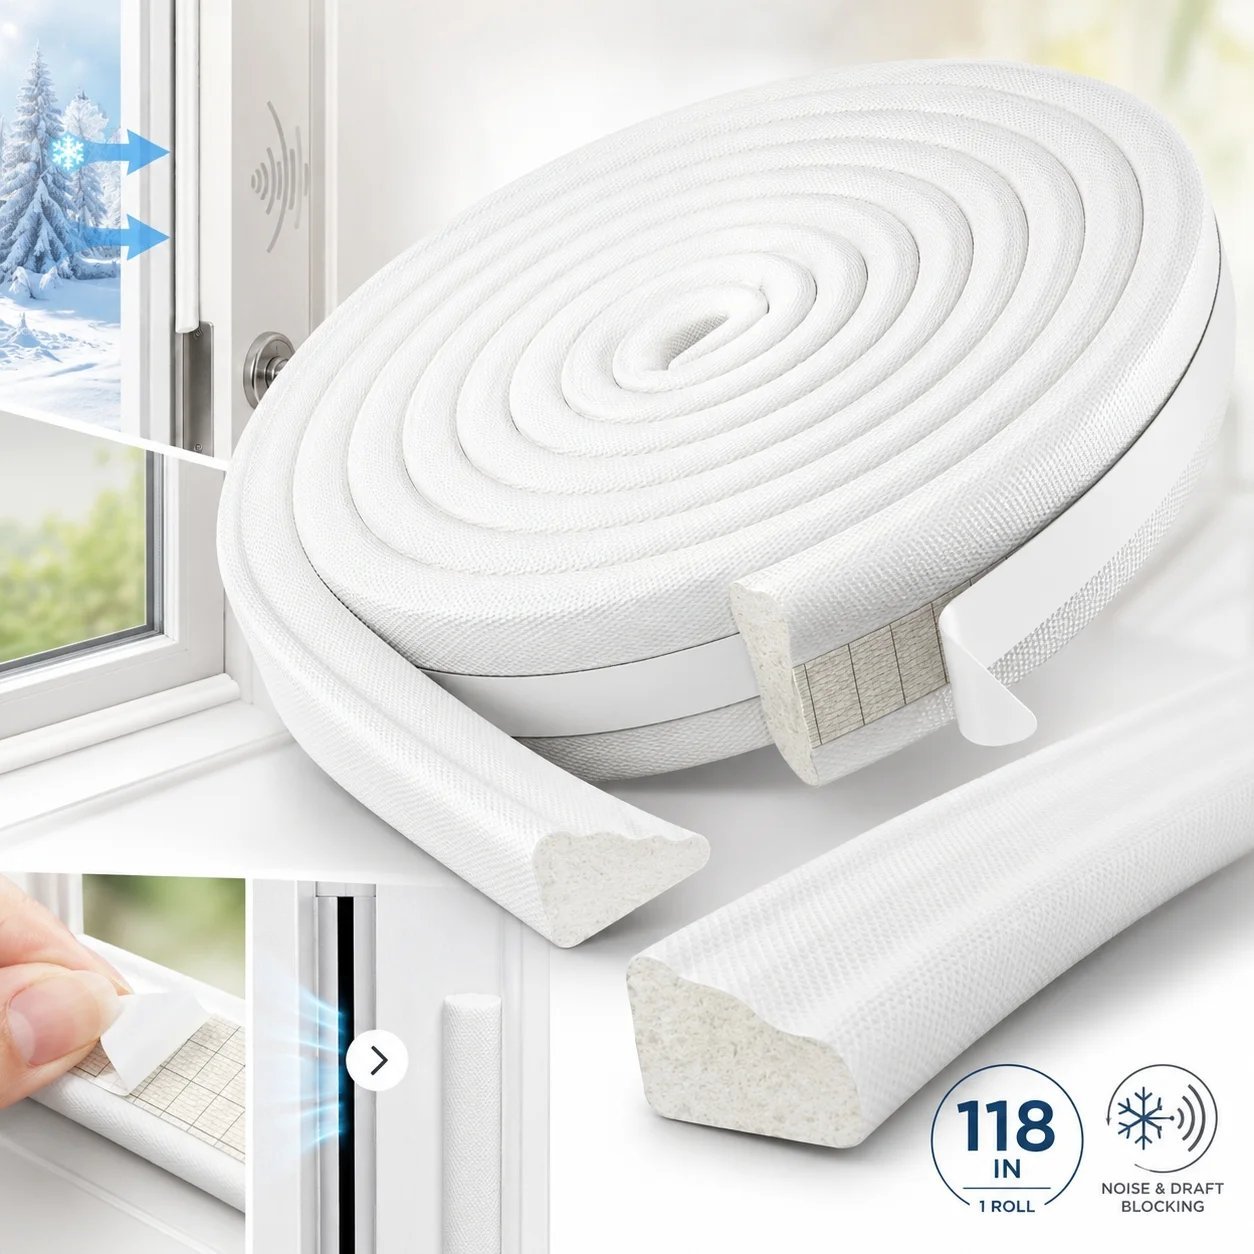
- Foam tape: Self-adhesive, easy to apply, good for irregular gaps. Least durable (1–3 years) but cheapest and simplest.
- Felt: Cheap and easy, but wears fast and absorbs moisture. Fine as a one-season stopgap.
- Tubular rubber/silicone gaskets: Best seal and longevity for casement and awning windows; press into the frame channel.
Measure the gap before buying — weatherstripping that’s too thick prevents the window from closing; too thin doesn’t seal. The DOE weatherstripping guide has a good type-by-type breakdown.
Fix #3: Window Insulation Film (The Renter’s Best Friend)
Plastic shrink film kits ($5–$10 per window) are ugly-adjacent but remarkably effective — they add an insulating air layer that noticeably cuts drafts and condensation. Apply double-sided tape around the frame, press on the film, shrink taut with a hair dryer. From a few feet away it’s nearly invisible. This is the highest-impact temporary fix for single-pane windows and rentals where you can’t modify anything.
Fix #4: Draft Snakes, Storm Windows, and Heavy Curtains
- Draft snakes/stoppers at the sill block the classic under-window draft. DIY with a rolled towel; nicer versions cost $10–$20.
- Interior storm window panels (magnetic or compression-fit, $50–$150 per window) add a real insulating layer without replacing windows.
- Thermal curtains ($25–$60 per panel) help, especially closed at night — but they’re a supplement, not a substitute for sealing. Open them on sunny days for free solar heat.
- Rope caulk (press-in removable caulk, ~$6) seals windows you won’t open all winter — peels off cleanly in spring. Perfect for that one window that never opens anyway.
When Sealing Isn’t Enough
Be honest about the window’s condition. If frames are rotted, sashes are warped, or single-pane glass sweats constantly, no amount of caulk fixes the underlying problem — you’re in replacement territory. See our breakdown of window replacement costs for the numbers. But for most drafty-but-sound windows, the $50–$100 sealing approach captures the majority of the benefit.
And remember: windows are only part of the heat-loss picture. Pair this with attic insulation and the other energy-efficient upgrades for older homes for the full effect — sealing windows while heat pours through an uninsulated attic is bailing with a teaspoon.
Don’t Forget the Rest of the Envelope
Windows get the attention, but they’re rarely the biggest leak. While you’re in sealing mode, hit the other culprits: exterior doors (weatherstripping + door sweep — same principle as windows, often worse gaps), attic hatch (a notorious energy sieve — weatherstrip the frame and glue rigid foam to the hatch panel), electrical outlets and switches on exterior walls (foam gaskets behind the cover plates, $5 for a pack), and plumbing and wire penetrations (caulk or spray foam where pipes and cables enter the house).
Dryer vents, range hood vents, and bathroom fans need backdraft dampers that actually close — a stuck-open damper is a 4-inch hole in your wall all winter. Check them from outside; the flapper should move freely and sit closed when the fan’s off.
The mindset shift: think of your house as a system, not a collection of windows. Sealing windows while the attic hatch gapes is like bailing a boat with a hole in the bucket. An afternoon with caulk, weatherstripping, and foam — maybe $75 total — addresses the whole envelope, and the comfort difference is immediately noticeable the next cold snap.
Testing Your Work
After sealing, verify it worked — don’t just assume. Repeat the hand/incense test on a windy day; the drafts you felt before should be gone or dramatically reduced. Check with a thermal camera if you can borrow one (many libraries and utilities lend them) — cold spots glow blue, sealed areas don’t. Watch your energy bills over the next two months compared to the same period last year, adjusting for weather severity.
Recheck annually each fall — caulk cracks, weatherstripping compresses, and film needs replacing. Fifteen minutes of inspection each October keeps the seals performing. Sealing isn’t a once-and-done project; it’s light annual maintenance with outsized returns.
The Bottom Line
The best way to seal gaps around windows for winter: caulk the frame-to-wall joints, weatherstrip the operable sashes, add shrink film on the worst offenders, and block sill drafts. A weekend and under $100 in materials typically cuts window drafts by 70–90%. Your furnace runs less, your rooms feel warmer, and that cold whisper becomes a memory. Do it in October and thank yourself all winter.