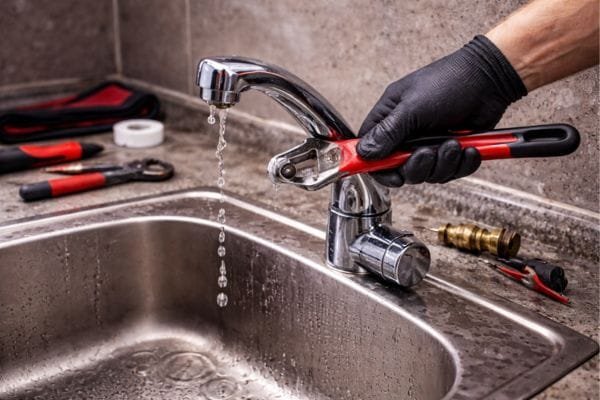
Drip. Drip. Drip. That leaky faucet isn’t just annoying — it’s quietly wasting up to 3,000 gallons of water a year and padding your water bill every month. The good news? Fixing it is one of the easiest plumbing repairs in existence. Most leaks are caused by a single worn-out $5 part, and you can absolutely handle this yourself in under an hour. Here’s how to fix a leaky faucet without calling a plumber, step by step.
First: Figure Out What Kind of Faucet You Have
There are four common types, and the fix differs slightly for each:
- Compression (two handles, twist to open): The oldest style. Leaks are almost always a worn rubber washer or O-ring. Cheapest and easiest fix.
- Ball (single handle, common in kitchens): Has lots of small parts — springs, seals, a rotating ball. Repair kits cost ~$15 and include everything.
- Cartridge (single or double handle): A cartridge controls flow. When it wears out, you replace the whole cartridge (~$15–$40).
- Ceramic disc (single lever, modern): Most durable; leaks usually mean a worn seal or cracked disc. Replacement seals are cheap.
Not sure which you have? Take a photo and show it at the hardware store — staff identify faucets all day long. Or check the manufacturer’s site; many have “identify my faucet” tools.
What You’ll Need
- Adjustable wrench and/or basin wrench
- Phillips and flathead screwdrivers
- Replacement parts (washer, O-ring, cartridge, or repair kit — buy after identifying the faucet, or buy a universal kit)
- Plumber’s grease (silicone-based)
- White vinegar and an old toothbrush (for mineral buildup)
- Towels and a small bucket or bowl
- Your phone (for photos of the disassembly order — trust me)
How to Fix a Leaky Faucet Without Calling a Plumber: Step by Step
Step 1: Turn off the water
Look under the sink for the shutoff valves (one hot, one cold) and turn them clockwise. No valves? Turn off the house’s main water supply. Then open the faucet to release pressure and confirm the water’s off.
Step 2: Plug the drain
Stuff a rag or use the sink stopper. Tiny screws love to dive down drains, and fishing them out is nobody’s idea of fun.
Step 3: Disassemble the faucet
Pop off the decorative cap on the handle, remove the handle screw, and lift the handle off. Then unscrew the packing nut or retaining nut to access the stem/cartridge/ball assembly. Take a photo at every stage — reassembly is just disassembly in reverse, but only if you remember the order.
Step 4: Inspect and replace the worn parts
Look for the culprit: a flattened or torn washer, a cracked O-ring, a corroded valve seat, or a worn cartridge. Replace with exact-match parts — bring the old ones to the store for comparison. While it’s apart, soak mineral-crusted parts in white vinegar for 15 minutes and scrub with the toothbrush.
Step 5: Reassemble and test
Apply a thin coat of plumber’s grease to O-rings and threads, reassemble in reverse order, and turn the water back on slowly. Run the faucet for a minute to flush debris, then check for leaks at every joint.
Total time: 30–60 minutes for your first one, 15 minutes once you’ve done it. Total cost: usually under $20. Family Handyman’s faucet repair walkthrough has excellent photos if you want a visual companion.
When the Simple Fix Doesn’t Work
If a new washer doesn’t stop the drip, the valve seat (the surface the washer presses against) may be corroded or pitted. You can smooth a brass seat with a valve-seat dresser tool (~$10), or replace it with a seat wrench. If the faucet body itself is cracked or corroded through, it’s replacement time — which is still a DIY-friendly job, just a bigger one.
Also know when to wave the white flag: if shutoff valves are frozen or broken, if you discover significant corrosion in supply lines, or if water is leaking inside the wall — those are plumber situations. There’s no shame in it; knowing the boundary is part of being a good DIYer.
Prevent the Next Leak
Two habits extend faucet life dramatically: don’t crank handles closed with gorilla force (that’s what destroys washers prematurely — firm is enough), and address small drips promptly before they wear grooves into valve seats. While you’re in DIY plumbing mode, you might also want to learn how to unclog a drain without harsh chemicals and how to fix a running toilet — the three most common household plumbing fixes, all very doable.
Upgrading While You’re at It
Since you’ve got the faucet apart anyway, consider whether it’s worth upgrading rather than just repairing. If your faucet is over 15 years old, uses separate hot/cold handles with washers (the leak-prone compression style), or has low flow that annoys you daily, a new faucet ($80–$200 for a quality mid-range model) might be smarter than nursing the old one along.
What to look for in a replacement: ceramic disc valves (the most durable mechanism — they rarely leak), a finish that matches your kitchen (brushed nickel hides water spots best), and a pull-down sprayer if you don’t have one (once you’ve used one, there’s no going back). Check the hole configuration of your sink first — 1, 3, or 4 holes determines what fits without modification.
Replacing the whole faucet is the same skill level as the washer repair, just with a few more steps: disconnect supply lines, remove the mounting nuts (a basin wrench, $15, reaches the tight space behind the sink), lift out the old, drop in the new with fresh plumber’s putty or the included gasket, reconnect. An hour’s work, and the most-touched fixture in your kitchen feels brand new.
The Bottom Line
A leaky faucet is a $5 part and an hour of your time — not a $150 service call. Identify your faucet type, shut off the water, photograph the disassembly, replace the worn washer or cartridge, and you’re done. It’s the perfect first plumbing project: low stakes, high satisfaction, and you’ll never hear that drip again. If your sink has a disposal acting up too, check garbage disposal installation costs before deciding whether to repair or replace.