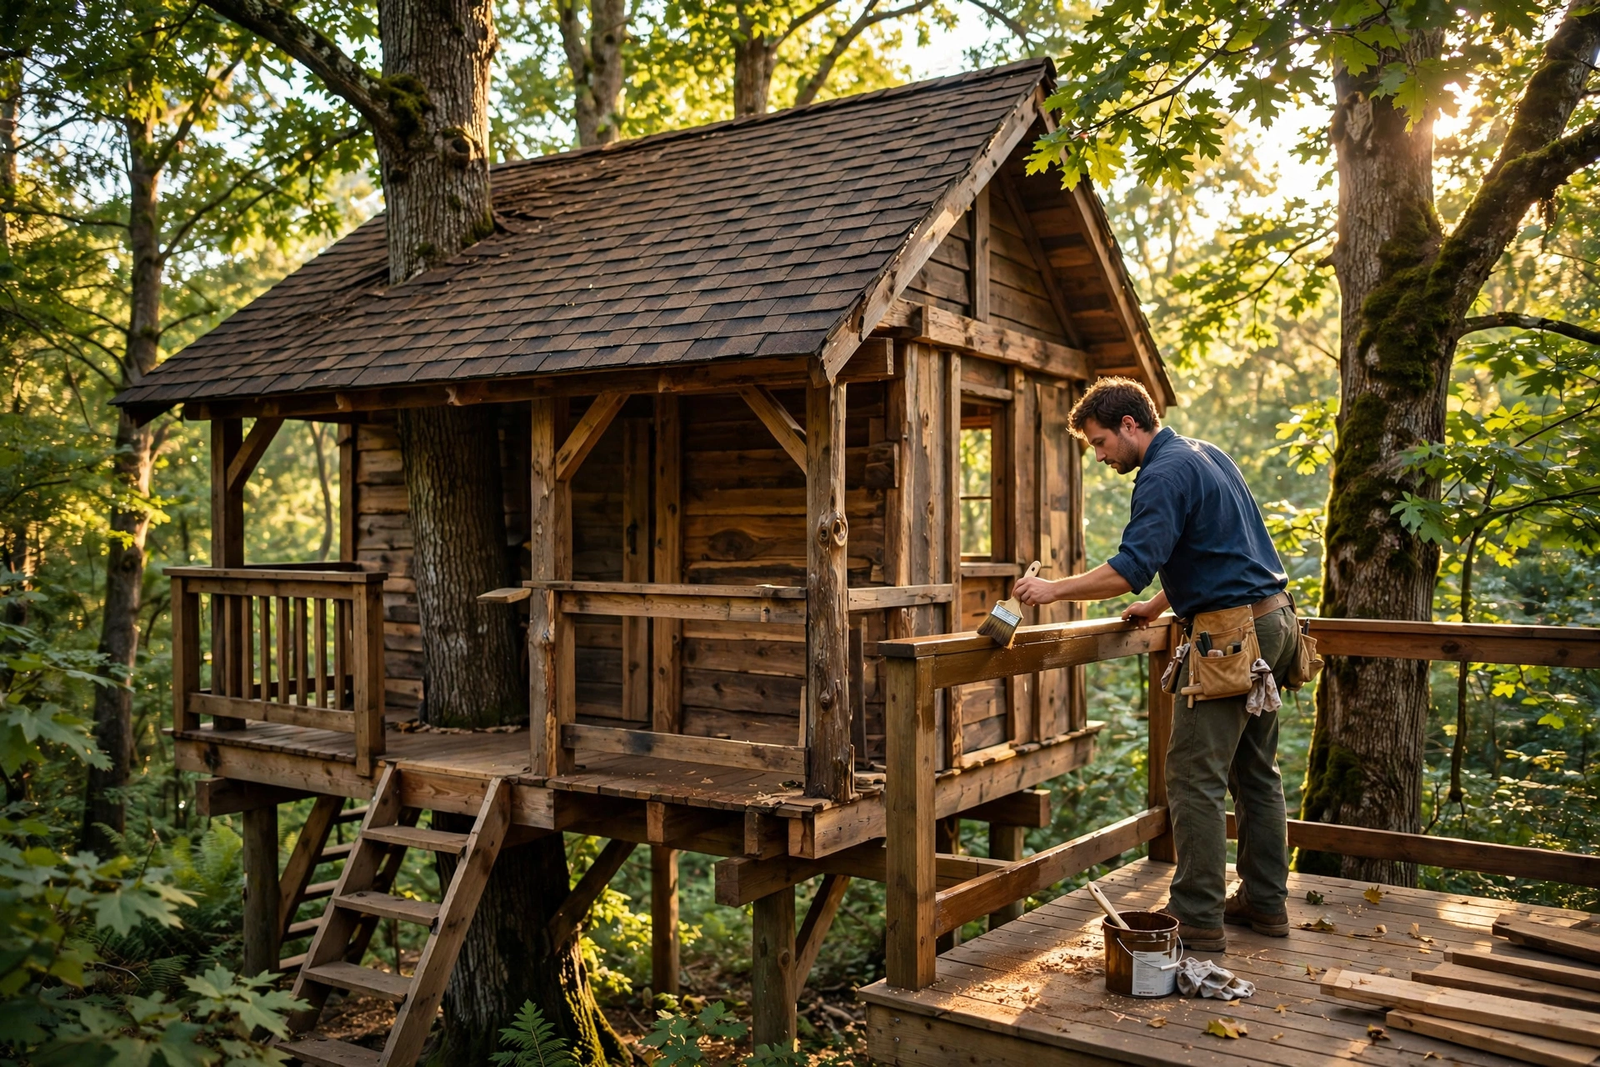
Quick Answer: To weatherproof a treehouse structure, apply a water-repellent wood sealer to all exterior wood, install a sloped shingled or metal roof, seal joints and windows with exterior caulk, add proper drainage around the foundation posts, and reapply treatments every 1 to 3 years. Good airflow and ventilation also prevent rot and mold.
A treehouse is an investment in fun and family memories — but exposed wood deteriorates fast. Weatherproofing protects against rot, warping, mold, and insects, and can double or triple the structure’s life. Best of all, it’s a weekend project using basic tools and hardware-store materials.
This step-by-step guide walks you through everything: sealing the wood, roofing, siding, drainage, and the maintenance routine that keeps it all working year after year.
Step 1: Seal All Exterior Wood
Wood is porous, and unprotected lumber soaks up rainwater like a sponge. That moisture causes swelling, warping, cracking, and eventually rot. Sealing is the single most important weatherproofing step.
Choose the right sealer
- Water-repellent wood preservative: Best for new treehouses. Products like Thompson’s WaterSeal penetrate the wood and repel water while letting it breathe.
- Exterior wood stain: Combines water repellency with UV protection and color. Semi-transparent stains work best because they protect without peeling like paint can.
- Exterior paint: Provides strong protection but can trap moisture if applied to damp wood. Make sure lumber is fully dry before painting.
Application tips
- Wait for 2 to 3 dry days before applying; wood should have under 15% moisture content.
- Apply sealer to every exposed surface — including cut ends, which absorb the most water.
- Use a brush or sprayer; two thin coats beat one thick one.
- Pay special attention to horizontal surfaces (decks, railings) where water pools.
- Reapply every 1 to 2 years, or 3 years for high-quality exterior stains.
Step 2: Install a Proper Roof
The roof is your treehouse’s first line of defense. A flat or missing roof lets rain pour directly onto decking and framing.
- Pitch: Give the roof a slope of at least 3:12 (3 inches of rise per foot of run) so water runs off instead of pooling.
- Materials: Asphalt shingles are affordable and easy to install. Metal roofing lasts longer and sheds snow well. Cedar shakes look great but need more maintenance.
- Overhang: Extend the roof at least 12 inches past the walls so rain clears the siding.
- Underlayment: Lay roofing felt or synthetic underlayment over the plywood decking before shingles for an extra moisture barrier.
- Flashing: Use metal flashing around the tree trunk penetration so rain doesn’t run down the trunk and into the structure.
Step 3: Protect the Walls and Siding
Walls take a beating from wind-driven rain. The approach depends on your siding:
- Wood siding or plywood: Seal or stain it just like the rest of the structure. Lap siding is better than flat sheets because it sheds water naturally.
- House wrap: Under siding, install house wrap (like Tyvek) over the framing — the same material used on real houses. It blocks liquid water while letting vapor escape.
- Bottom clearance: Keep siding at least 6 inches above ground to prevent splash-back rot and ease inspection.
Step 4: Seal Joints, Windows, and Doors
Water finds its way in through gaps. Walk around the treehouse and seal every opening:
- Run a bead of exterior-grade silicone caulk around every window and door frame.
- Seal the corners and any joints where two boards meet at odd angles.
- If you have windows, install small drip caps (metal strips) above them so rain runs off instead of into the frame.
- Replace cracked or dried-out caulk every couple of years.
Step 5: Handle Drainage Around the Base
Support posts sitting in soggy ground will rot from the bottom up, no matter how well you sealed the top.
- Grade the ground so water flows away from the posts, not toward them.
- Never bury posts directly in soil — set them in concrete footings or use galvanized post bases on concrete piers.
- Consider adding gravel beds or French drains if the area stays wet.
- Keep mulch and soil 6 inches from wood surfaces.
Step 6: Ensure Ventilation
Trapped moisture is just as damaging as rain. A sealed-up treehouse can grow mold inside, especially in humid climates.
- Add small vents near the top of walls and under the eaves so warm, moist air can escape.
- Leave a small gap between deck boards (about 1/8 inch) so rainwater drains through instead of pooling.
- If the interior is enclosed, crack a window or add a vent fan to keep air circulating.
Step 7: Set Up a Maintenance Schedule
Weatherproofing isn’t a one-time job. Build a simple routine:
- Every spring: Inspect for damage, tighten loose boards and fasteners, re-caulk gaps, check the roof for missing shingles.
- Every fall: Clear leaves and debris from the roof and gutters (if you have them), touch up sealant, and make sure drainage still flows away from the base.
- Every 1 to 3 years: Clean the wood and reapply sealer or stain.
- After storms: Check for loose flashing, branches that fell on the roof, and standing water.
Common Mistakes to Avoid
- Sealing wet wood: Traps moisture inside and accelerates rot. Always let lumber dry first.
- Skipping the roof overhang: Rain running straight down the walls defeats all your sealing work.
- Using interior paint or caulk outdoors: They break down quickly in sunlight and rain.
- Ignoring the tree itself: As the tree grows, bolts can pinch bark and damage seals — check them yearly.
- Forgetting ventilation: A totally sealed box grows mold. Let it breathe.
For project inspiration and building techniques, see Family Handyman’s project guides and your state’s cooperative extension service such as OSU Extension forestry and wood-care research for wood-care research. For more outdoor structure projects, see how to build a raised garden bed and our guide on best outdoor wood for decks. If pests are an issue around your treehouse, check how to keep squirrels out of garden.
Frequently Asked Questions
How much does it cost to weatherproof a treehouse?
For a typical small treehouse, expect $100 to $300 in materials: wood sealer or stain ($30–$60 per gallon), exterior caulk ($5–$10 per tube), and roofing materials if the roof needs replacing. Labor is free if you do it yourself.
Can I weatherproof an old treehouse that is already damaged?
Yes, but fix rot first. Cut out any rotted wood, replace it with new lumber, let everything dry thoroughly, then seal. Sealing over active rot just hides the problem — the decay continues underneath.
What is the best sealer for treehouse wood?
A water-repellent exterior wood stain or dedicated waterproofer (like Thompson’s WaterSeal) is ideal for most treehouses. They soak into the wood, repel water, and won’t peel. Reapply every 1 to 3 years depending on your climate.
Does a treehouse need a roof?
Yes, for real weatherproofing. A sloped, shingled or metal roof is the single biggest upgrade you can make. It keeps rain off the decking and framing and extends the structure’s life dramatically compared to an open-topped platform.
How long will a weatherproofed treehouse last?
A properly weatherproofed and maintained treehouse built from treated lumber or naturally rot-resistant wood (like cedar) can last 10 to 20 years or more. Without weatherproofing, untreated wood structures often start failing within 3 to 5 years.