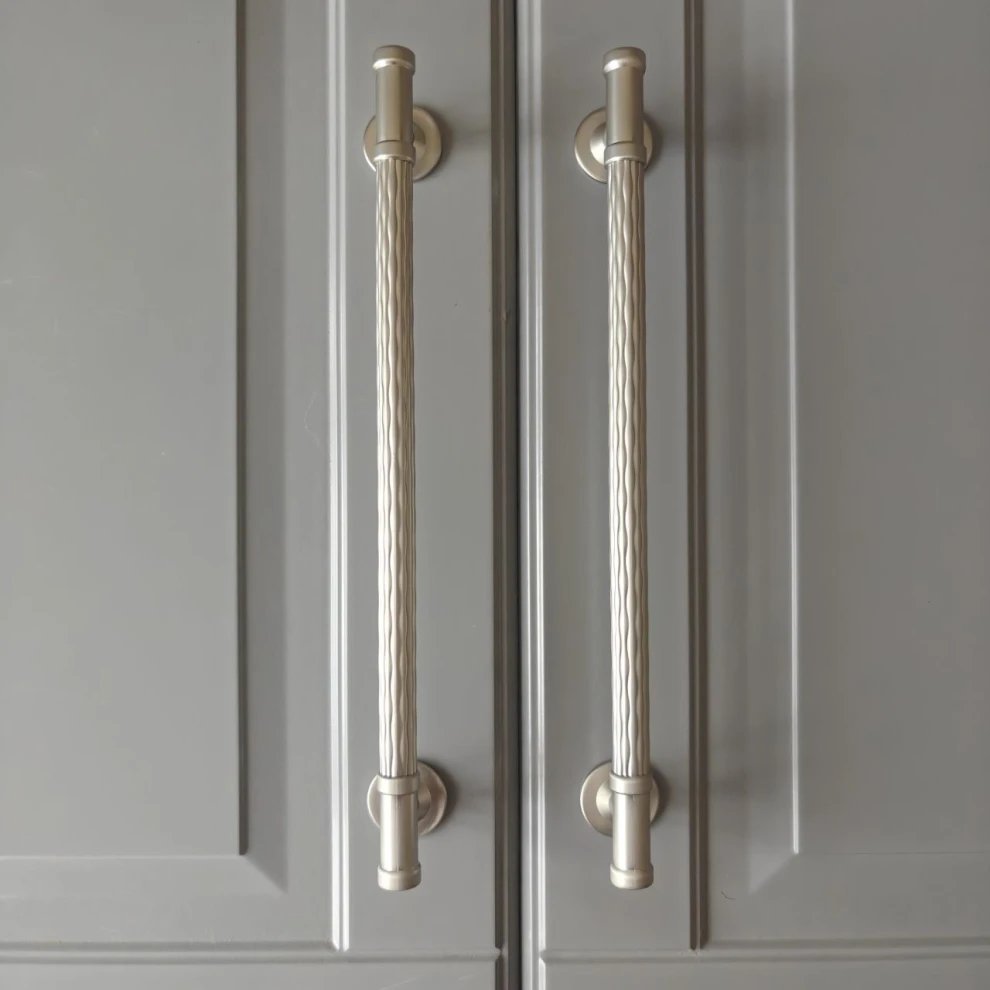
Cabinets are fine. The boxes are solid, the doors are straight — but the hardware is pure 1990s: shiny brass knobs, dated wooden pulls, hinges that show their age. Replacing cabinets costs $5,000–$15,000. Replacing just the hardware? $50–$200 and an afternoon. It’s one of the highest-impact, lowest-cost upgrades in any kitchen or bathroom. Here’s how to update old cabinet hardware without replacing cabinets, including the tricky parts like mismatched holes and finishes.
Choose Your New Hardware Style
Current, timeless choices that won’t look dated in five years:
- Bar pulls (3–5 inch) in matte black or brushed nickel — the modern default for drawers and doors alike
- Simple round knobs in matte black, brushed brass (the muted modern kind, not 90s shiny), or polished nickel — classic and safe
- Cup/bin pulls for drawers — farmhouse-traditional, great grip
- Edge/tab pulls — minimalist, mount to the top edge of doors/drawers, nearly invisible
Finish guidance: matte black works with everything and hides fingerprints; brushed nickel/chrome is the timeless safe choice; brushed brass/gold is beautiful but commit to it across the kitchen (faucet, lighting) or it looks accidental. Buy one sample of each finalist and live with them on the cabinet for a day — $5 well spent.
Measure First: The Hole-Spacing Question
This is the critical measurement. Pull off one existing handle and measure center-to-center between the screw holes (not the overall length). Common spacings: 3″, 3-3/4″, 4″, 5″. Your options:
- Match the existing spacing: Easiest — new hardware drops into old holes. Filter your shopping by this measurement.
- Fill and re-drill: If you love hardware with different spacing, fill old holes with wood filler (painted cabinets) or color-matched wax sticks, sand smooth, touch up, and drill new holes. More work, total freedom.
- Switch knobs to pulls or vice versa: Going from one-hole knobs to two-hole pulls means drilling one new hole per door/drawer — easy with a template. Going from pulls to knobs means filling one hole per location.
Buy a hardware jig/template ($10–$15). It ensures every hole is identically placed — the difference between professional-looking and “hmm, these look slightly off.” For 20+ pieces of hardware, it’s essential.
How to Update Old Cabinet Hardware Without Replacing Cabinets: Step by Step
- Remove one piece of old hardware and measure hole spacing and screw length.
- Order hardware — count every door and drawer (don’t forget the bathroom vanities if you’re doing those too). Order 2–3 extras for mistakes and future needs (matching later is hard).
- Remove all old hardware. Keep one old piece as reference; donate or toss the rest.
- Fill holes if changing spacing: wood filler for painted cabinets, wax fill sticks for stained. Sand flush when dry, touch up paint/stain.
- Mark new holes with the jig — consistent placement (typically 2–3 inches from the corner for doors, centered on drawer fronts).
- Drill carefully — sharp brad-point bit, drill from the finished face with a backing block behind to prevent blowout, or drill halfway from each side.
- Install: screws from inside, hardware outside. Don’t overtighten — snug is enough, especially on older doors.
- Step back and admire. Seriously — the transformation is disproportionate to the effort.
Don’t Forget the Hinges
New knobs with old grimy hinges look half-finished. Options: clean and spray-paint existing hinges with metallic spray paint ($8 — remove them first, clean thoroughly, light coats), or replace with new hinges in a matching finish ($2–$4 each). If your hinges are the exposed decorative type, matching them to the new hardware finish ties everything together.
Coordinating With the Rest of the Kitchen
Hardware looks best when it relates to other finishes: match or complement the faucet finish, and consider updating switch plates to match ($1–$2 each — cheap cohesion). If you’re doing the full budget refresh, our guides to cheap kitchen updates, budget countertops, and kitchen paint finishes build the complete transformation plan.
Coordinating Hardware With Bathrooms Too
Don’t stop at the kitchen — bathroom vanities benefit from the same treatment, often more dramatically since bathrooms are smaller and details stand out. The same rules apply: measure hole spacing, choose a finish that complements the faucet (matching exactly is ideal in small bathrooms), and use the jig for consistent placement.
Bathroom-specific tips: in humid bathrooms, choose solid metal hardware over hollow or plated plastic — moisture destroys cheap hardware fast. Brushed nickel and chrome handle humidity best; matte black is fine if it’s quality powder-coated. Towel bars and robe hooks in the matching finish ($15–$30 total) complete the coordinated look — it’s the detail that makes a bathroom feel designed rather than assembled.
One finish per bathroom is the rule — mixed metals in a small space look accidental. If the faucet is chrome, the knobs, towel bar, and even the toilet handle (a $10 swap most people never think of) should be chrome. Cohesion is what reads as “renovated.” For more bathroom refresh ideas, This Old House’s bathroom guides cover the full spectrum from hardware swaps to full remodels.
When Hardware Isn’t Enough (Knowing the Limit)
New hardware works miracles, but be honest about when the cabinets themselves are the problem. Hardware can’t fix: warped or delaminating doors, broken drawer boxes, worn-out hinges that won’t hold adjustment, or layouts that don’t function. If doors don’t close, drawers fall off tracks, or the finish is failing underneath, you’re past the hardware stage.
The middle path — refacing: new doors, drawer fronts, and veneer over existing boxes runs $4,000–$9,000 — half the cost of replacement, and you keep the layout. Worth considering when boxes are solid but doors are dated or damaged. The test: if you find yourself apologizing for the cabinets when guests come over, hardware might not be enough. If you just think “these could look better,” hardware is exactly right.
The Bottom Line
Updating old cabinet hardware without replacing cabinets: measure hole spacing, choose timeless hardware in a cohesive finish, use a jig for consistent placement, and don’t forget the hinges. It’s $50–$200, one afternoon, and a transformation that looks like a $5,000 upgrade. Of all the cheap kitchen improvements, this is the one I’d do first — it’s fast, foolproof, and the before-and-after photos will make you look like a renovation genius.