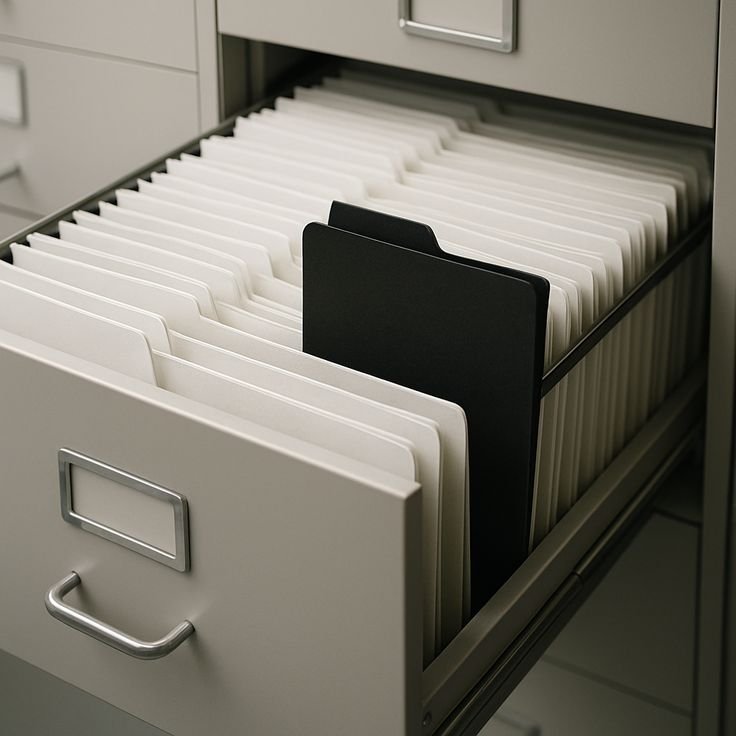
Birth certificates in a shoebox. The car title… somewhere. Your passport in the “safe spot” you can’t remember. If hunting for documents feels like a scavenger hunt you never signed up for, you’re not disorganized — you just never built a system. The best way to organize important household documents isn’t complicated. It’s one afternoon of sorting, one binder (or one digital vault), and a habit that takes five minutes a month.
I’ve helped two family members sort decades of paper chaos, and the method below is what actually survived contact with real life. No color-coded filing cabinet with 47 tabs. Just a system simple enough that you’ll keep using it.
What Counts as “Important” (The Master List)
Before you sort, know what you’re looking for. Gather everything and sort into these piles:
- Identity: birth certificates, Social Security cards, passports, driver’s licenses, marriage/divorce certificates, citizenship papers
- Property: mortgage or lease, deeds, car titles, home insurance, warranties
- Financial: bank account info, investment statements, loan documents, tax returns (keep at least 7 years)
- Medical: insurance cards, vaccination records, prescriptions, advance directives, living wills
- Legal: wills, powers of attorney, custody agreements, military records
- Household: appliance manuals and receipts, service contracts, school records
Everything else — old utility bills, expired coupons, mystery receipts from 2019 — is clutter, not documents. Recycle it without ceremony. If paper piles are your nemesis generally, the approach in decluttering your home without feeling overwhelmed applies here too.
The Best Way to Organize Important Household Documents: The Two-Layer System
Here’s my honest recommendation: physical binder for originals + digital scans for everything. Originals live in one place; scans live in the cloud where you can access them from anywhere (think: you’re at the DMV and need your insurance card).
Layer 1: The physical binder
Get a sturdy 2–3 inch binder, tabbed dividers, and sheet protectors. One section per category above. Originals go in sheet protectors — never hole-punched. Store the binder somewhere logical and memorable: a home office shelf, a fireproof safe, or a locked file box. Tell one trusted person where it is. A binder nobody can find in an emergency is just a paperweight.
For truly irreplaceable originals (birth certificates, property deeds, wills), a fireproof safe or safe deposit box is worth the investment. The binder holds copies of those, with a note saying where the original lives.
Layer 2: The digital vault
Scan or photograph every document with your phone — most phones have a built-in document scanner now. Save to a clearly named folder structure:
Documents/Identity/Passports/Documents/Property/Mortgage/Documents/Financial/Tax-2025/
Name files descriptively: passport-john-doe-expires-2030.pdf, not scan001.pdf. Store in a cloud service with two-factor authentication enabled — Google Drive, iCloud, Dropbox, whatever you already use. For sensitive documents, add a password-protected zip or use the service’s encrypted folder options.
The Monthly 5-Minute Habit
Systems die without maintenance, but maintenance can be tiny. Once a month — tie it to paying bills or the first of the month — spend five minutes:
- File anything that’s accumulated in your “inbox” tray
- Scan anything new worth keeping
- Shred anything expired (old bills past 1 year, expired insurance cards)
Keep a small tray or folder labeled “TO FILE” near where you open mail. Documents go there, not on the counter, not in a drawer, not “I’ll deal with this later.” Later is how piles are born.
What About Tax Documents?
The IRS generally recommends keeping tax returns and supporting documents for at least three years from filing, but seven is the safer standard most accountants suggest — and keep property-related records for as long as you own the asset plus several years. When in doubt, scan it and keep the digital copy; storage is cheap, audits are not. The IRS has a plain-English guide on how long to keep records.
Emergency Access: The Part Everyone Skips
This is the unsexy but critical part. Make sure:
- Your spouse, partner, or a trusted family member knows where the binder and digital vault are
- They have the passwords (use a password manager with emergency access, or a sealed envelope in the safe)
- Medical directives and emergency contacts are findable in under two minutes
Pair this with knowing how to remember important dates and birthdays — document renewals (passports, licenses, registrations) are exactly the kind of dates that slip through the cracks. For broader emergency preparedness checklists, Ready.gov’s emergency kit guidance is the official starting point.
Securing Your Digital Vault
Scans in the cloud are convenient — and a target. A few non-negotiable security practices for your document vault:
- Two-factor authentication on everything. Your cloud storage, your email (the master key to all password resets), your password manager. Use an authenticator app, not SMS, where possible.
- A password manager with emergency access. Store the vault password there, and set up the emergency-access feature so a trusted person can get in if you’re incapacitated. This is the modern version of “tell someone where the binder is.”
- Encrypt the most sensitive scans. Social Security cards, full tax returns, account numbers — keep these in a password-protected archive or the cloud service’s encrypted folder, not sitting in plain files.
- Separate the everyday from the critical. Insurance cards and medical info you might need urgently should be quickly accessible; identity documents can live behind an extra layer. Design for both speed and safety.
- Review sharing settings yearly. Shared folders accumulate. Once a year, check who has access to what and revoke anything stale.
None of this is paranoid — identity theft from document exposure is common and miserable. An hour of security setup protects decades of records.
Shred vs. Keep: The Quick Rules
Not everything deserves a place in the binder. Quick rules: shred anything with account numbers, Social Security numbers, or signatures that you no longer need (old bank statements past a year, expired insurance cards, pre-approved credit offers — shred, don’t just recycle). Keep digitally, shred physically: utility bills, pay stubs older than a year, receipts for minor purchases. Keep physically, forever: birth/death/marriage certificates, property deeds, car titles, wills, military records. Keep 7 years: tax returns and supporting documents. When in doubt, scan it before shredding — digital storage is cheap, and “I wish I’d kept that” is preventable. A $40 crosscut shredder pays for itself the first time it prevents identity theft.
The Takeaway
The best way to organize important household documents is the two-layer system: one physical binder for originals, one digital vault for scans, maintained with a five-minute monthly habit. Do the big sort once — put on music, order takeout, power through — and you’ll never again tear the house apart looking for a birth certificate at 8 a.m. before a flight. Future you says thanks.