
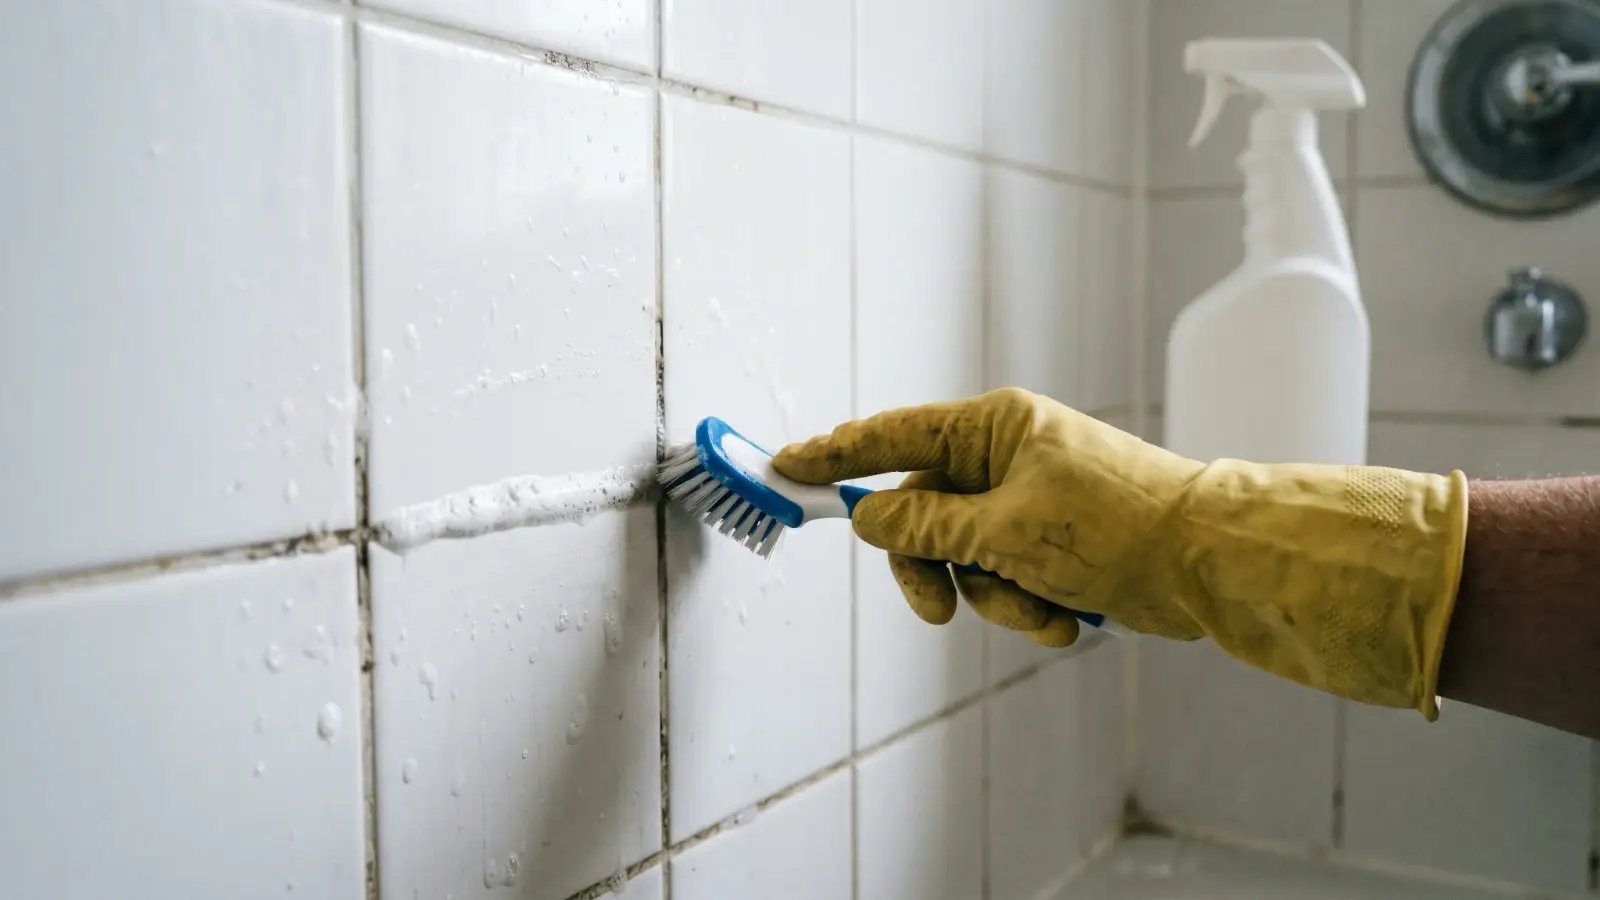
Clean tiles, disgusting grout — it’s the classic bathroom paradox. Grout is porous, so it absorbs soap scum, hard water minerals, mildew, and everything else your bathroom produces. The good news: dingy grout is almost always salvageable. You rarely need to regrout; you just need the right method for your grout’s condition. Here’s the best way to clean grout between bathroom tiles, from gentle maintenance to heavy-duty restoration.
Start With the Gentlest Method That Works
Always escalate gradually. Start here:
Level 1: Hot water + stiff brush
For lightly dirty grout, hot water and a stiff grout brush (or old toothbrush) plus elbow grease is surprisingly effective. The brush matters more than the cleaner at this stage — grout brushes have stiff V-shaped bristles designed to dig into grout lines. Ten minutes of scrubbing with plain hot water often reveals the grout was never that dirty, just dusty.
Level 2: Baking soda paste
Mix baking soda with just enough water to form a thick paste. Apply to grout lines, let sit 10–15 minutes, scrub with the brush, rinse. The mild abrasion lifts surface grime without damaging grout. This handles most everyday bathroom grout.
Level 3: Baking soda + hydrogen peroxide
For stained or yellowed grout: make a paste of baking soda and hydrogen peroxide (3% drugstore kind), apply, wait 10 minutes, scrub, rinse. The peroxide bleaches organic stains gently. This is my go-to for grout that’s visibly discolored but not moldy.
The Best Way to Clean Grout Between Bathroom Tiles When It’s Really Bad
For moldy, blackened, or deeply stained grout, bring out the bigger guns:
- Oxygen bleach (sodium percarbonate): Dissolve in hot water per package directions, apply to grout, wait 15–30 minutes, scrub, rinse. This is the pro secret — it whitens and kills mildew without the fumes or damage risk of chlorine bleach. Brands like OxiClean work; dedicated grout versions exist too.
- Steam cleaner: A handheld steam cleaner blasts grime out of grout pores with zero chemicals. Extremely effective, oddly satisfying, and safe for all grout types. If you clean grout regularly, this tool pays for itself.
- Chlorine bleach (diluted, ventilated): Effective against mold, but harsh — it can erode grout over time and the fumes in a small bathroom are brutal. Use as a last resort: 1:10 bleach to water, ventilate aggressively, rinse thoroughly. Never mix with other cleaners.
Never use: vinegar on natural stone tiles (it etches marble, travertine, and limestone — and the grout around them), or steel wool/abrasive pads on any grout (they gouge it, creating more texture for dirt to grab).
The EPA’s mold cleanup guidance is worth reading if you’re dealing with actual mold rather than just discoloration — there’s a point where cleaning becomes a health question.
Protect Your Work: Seal the Grout
Here’s the step everyone skips: after deep-cleaning, seal the grout. Grout sealer (penetrating type, $15–$25 a bottle) soaks into the pores and blocks future staining. Apply to clean, dry grout with a small brush or applicator bottle, wipe excess off tiles immediately, and let cure 24–48 hours. Reseal every 1–2 years in showers, every 2–3 years elsewhere. Sealed grout cleans with a wipe instead of a workout — this is the difference between grout that stays clean and grout you’re scrubbing quarterly.
While you’re at it, check the caulk lines where tile meets tub and walls. If the caulk is cracked or moldy underneath, cleaning won’t help — see our guide to the best caulk for bathtubs for a proper redo.
Prevention: Keep Grout Clean Longer
- Squeegee shower walls after use. Thirty seconds prevents most soap scum and mineral buildup.
- Run the exhaust fan during and 20+ minutes after showers — moisture is grout’s enemy. More on preventing bathroom mold.
- Switch to liquid soap instead of bar soap — bar soap creates far more scum.
- Weekly quick-scrub with a brush during normal bathroom cleaning prevents the deep-set grime that requires restoration.
- Address hard water if white mineral deposits keep returning — a showerhead filter or water softener solves the root cause.
When Cleaning Isn’t Enough: Regrouting
If grout is crumbling, cracked, or permanently stained deep into the material, cleaning has done all it can. Regrouting a shower runs $500–$1,500 professionally, or a dedicated DIYer can do it with a grout saw, new grout, and a weekend. It’s tedious but straightforward — and sometimes it’s the only path to grout that looks new. Get a quote for a minor bathroom remodel too; if multiple things need attention, bundling can make sense.
Natural Stone Tiles: Special Rules
If your tiles are marble, travertine, limestone, or slate, the standard advice changes. Never use vinegar, lemon, or any acidic cleaner — acids etch natural stone permanently, leaving dull spots that can’t be cleaned away. Never use bleach either; it can discolor stone. Stick to pH-neutral stone cleaners or just hot water with a drop of dish soap.
Stone grout lines also need more frequent sealing — the stone itself is porous and benefits from sealing too. A quality penetrating sealer on both tile and grout, reapplied yearly in showers, is the maintenance that keeps stone bathrooms looking good. Skip the steam cleaner on some soft stones (check your stone type — steam can damage certain finishes), and always test any new product in an inconspicuous spot first.
The upside: well-maintained stone with clean grout is stunning and adds real home value. The price is vigilance — stone bathrooms are for people who’ll do the maintenance, not for people who want to forget about it.
The Bottom Line
The best way to clean grout between bathroom tiles is to escalate sensibly: hot water and a stiff brush, then baking soda paste, then oxygen bleach or steam for the tough stuff — then seal it so you don’t do this again soon. Most “ruined” grout is just dirty grout, and an afternoon of work plus $20 in supplies restores what looked like a regrouting job. Seal it, squeegee it, and future you gets to skip this chore entirely.





One Comment