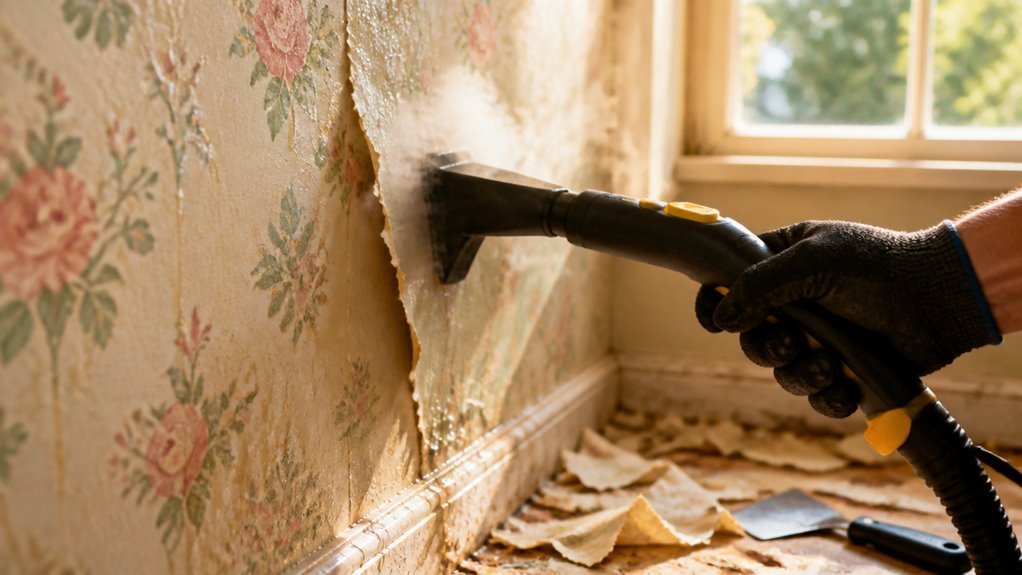
That floral wallpaper was charming in 1987. Now it’s just… there. Mocking you. Removing wallpaper is one of those jobs everyone dreads, but it’s very doable — the key is patience and the right technique for your wall type. Rush it or use the wrong method and you’ll gouge the drywall underneath, turning a weekend project into a drywall repair saga. Here’s how to remove wallpaper without damaging the walls underneath.
First: Figure Out What You’re Dealing With
Test a corner before committing to a method:
- Peel test: Pull a bottom corner gently. If the whole sheet comes off leaving a thin backing layer, you have strippable wallpaper — the easy kind. Peel the face, then remove the backing with water (see below).
- Backing test: If only a thin top layer peels leaving papery backing stuck tight, it’s standard wallpaper needing water/steam removal.
- Nothing budges: You may have wallpaper applied directly to unprimed drywall (the nightmare scenario) or multiple painted-over layers. Steam and patience are your friends; a pro might be worth it for large areas.
- Check for paint: If the wallpaper’s been painted over, water can’t penetrate — you’ll need to score it first or steam it.
Also identify your wall: drywall (most common), plaster (tougher, more forgiving), or paneling. Drywall’s paper face tears easily when wet — that’s the damage you’re trying to avoid.
The Water Method (For Most Wallpaper)
Wallpaper adhesive is water-soluble. That’s the whole trick.
- Score the wallpaper with a scoring tool ($10–$15, the spiky wheel kind) — light pressure in circular motions. This perforates the surface so water penetrates. Go easy on drywall — aggressive scoring cuts the drywall face paper, which is exactly the damage you’re avoiding.
- Mix hot water with wallpaper remover solution (or a squirt of dish soap + splash of white vinegar — the DIY version works fine). Some swear by fabric softener solution; the commercial remover is more consistent.
- Apply generously with a pump sprayer or sponge — soak a 3–4 foot section, not the whole wall. Let it sit 10–15 minutes. Re-wet if it starts drying.
- Scrape gently with a plastic putty knife (not metal — metal gouges) held at a low angle. Work from seams outward. If it’s fighting you, it’s not wet enough — re-soak and wait.
- Wipe down the wall with clean water and a sponge to remove adhesive residue. This step matters — leftover paste causes paint adhesion failures later.
Work in sections, keep the rhythm: soak, wait, scrape, wipe. Put on a podcast. This is a patience job, not a strength job.
The Steamer Method (For Stubborn Paper)
A wallpaper steamer ($50–$70 to buy, ~$25/day to rent) is the heavy artillery. Hold the steam plate on a section for 10–15 seconds, then scrape — the adhesive practically releases on its own. Steamers are faster and use less water (less drywall saturation risk), making them ideal for:
- Multiple layers
- Painted-over wallpaper
- Wallpaper on unprimed drywall (less water = less damage risk)
- Large areas where speed matters
Caution: steam is hot. Gloves, ventilation, and keep it moving — holding steam in one spot too long can bubble drywall joint compound. This Old House’s wallpaper removal guide demonstrates the steamer technique well.
Protecting the Walls: Damage Prevention Rules
- Plastic scrapers only on drywall — metal is for plaster
- Light scoring pressure — you’re perforating paper, not engraving drywall
- Don’t over-soak drywall — wet drywall’s face paper tears. Damp, not drenched; if the wall feels spongy, stop and let it dry
- Low scraper angle — nearly flat against the wall, pushing forward, not digging in
- Patch as you go — small nicks happen; note them for drywall patching after
After Removal: Prepping for Paint
Don’t paint directly over the stripped wall:
- Wash the entire wall with TSP substitute to remove all adhesive residue — run your hand over it; any tacky or rough spots need more cleaning.
- Let dry completely (24 hours).
- Patch nicks and gouges with spackle, sand smooth.
- Prime with a dedicated primer — this is non-negotiable after wallpaper removal. The wall surface is compromised and uneven; see primer vs. paint for why. An oil-based or shellac primer seals any residual adhesive best.
- Then paint as normal — and avoid our common painting mistakes.
When to Call a Pro
Consider professional help ($3–$7/sq ft for removal) if: the wallpaper is on unprimed drywall across large areas (high damage risk), there are 3+ layers, it’s commercial-grade vinyl, or the walls are plaster with historic value. A pro with a steamer does in hours what takes you a weekend — sometimes the money is worth the sanity.
What to Do About Stubborn Borders and Multiple Layers
Wallpaper borders — those horizontal strips popular in the 90s — deserve special mention: they’re often applied over painted walls with extra-strong adhesive and can be the most stubborn part of the job. Score thoroughly, soak well, and use the steamer if water alone isn’t working. Patience beats force; aggressive scraping on a border tears drywall faster than anywhere else.
Multiple layers are common in old houses (wallpaper over wallpaper over wallpaper, sometimes with paint between). Work from the top layer down, one layer at a time — trying to remove three layers at once just creates a soggy mess. Each layer needs its own scoring and soaking. It’s tedious, but each layer comes off easier than the last once you find the rhythm.
Painted-over wallpaper: water can’t penetrate paint, so scoring is essential — score deeply (but carefully on drywall), or go straight to the steamer, which drives moisture through regardless. In extreme cases, skim-coating over well-adhered painted wallpaper with joint compound is a legitimate alternative to removal — sometimes the bravest choice is knowing when not to fight.
The Bottom Line
To remove wallpaper without damaging walls: test first, score lightly, soak with hot water + remover solution (or steam stubborn areas), scrape gently with plastic tools, and never over-wet drywall. Then wash, patch, prime with a real primer, and paint. It’s a slow weekend, not a hard one — patience is the entire skill. And the reward is a room that finally feels like yours, ready for a fresh coat of paint.