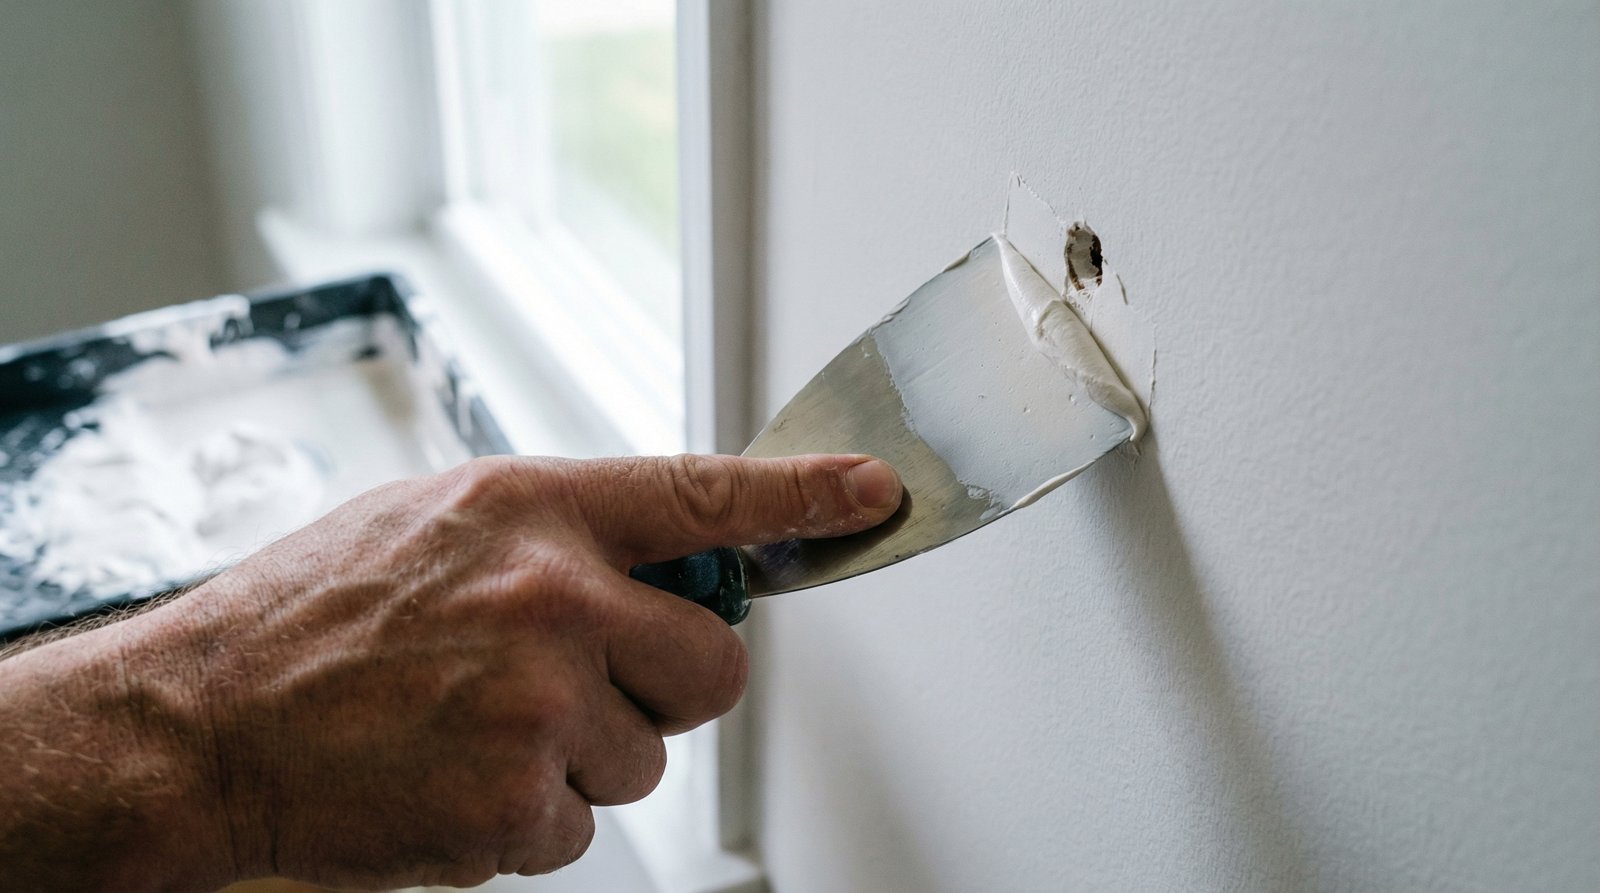
Doorknobs, moving furniture, kids being kids — small holes in drywall are a fact of life. The good news: a hole the size of a doorknob is a 30-minute fix that anyone can do, and when done right, it’s completely invisible. I’ve patched dozens of these in rentals and my own home. Here’s how to patch a small hole in drywall yourself with results that’ll pass even picky landlord inspections.
What Counts as “Small” (and What Doesn’t)
This guide covers holes up to about 4–6 inches — doorknob holes, anchor blowouts, small dings. The method: patch, don’t replace. For holes larger than 6 inches, you’ll want a California patch or a full drywall patch panel (different technique, same principle). For tiny nail holes and dents, skip the patch entirely — just dab spackle, sand, and paint.
What You’ll Need
- Self-adhesive mesh drywall patch or metal patch (for 2–6″ holes) — $5 for a multi-pack
- Lightweight spackle or joint compound — small tub is plenty
- Putty knives: a 2″ for application and a 6″ for feathering
- Fine-grit sandpaper (120 then 220) or a sanding sponge
- Damp cloth or sponge
- Touch-up paint matched to the wall
Total cost: under $20 if you’re starting from zero, under $5 if you own the basics. Compare that to a $150+ handyman visit.
How to Patch a Small Hole in Drywall Myself: Step by Step
Step 1: Prep the hole
Knock down any loose or crumbling drywall around the hole’s edges and remove protruding paper. The patch needs a stable surface. Wipe away dust with a damp cloth — compound doesn’t bond well to dusty surfaces.
Step 2: Apply the patch
Peel and stick the self-adhesive mesh patch centered over the hole, pressing firmly so all edges adhere flat. For metal patches, same idea. The patch bridges the gap and gives the compound something to grip. Make sure it’s flat — any lifted edge will telegraph through the finish.
Step 3: First coat of compound
Using the small putty knife, spread a thin layer of spackle over the patch, pressing it through the mesh. Don’t glob it on — thin is strong, thick cracks. Extend the compound a couple inches beyond the patch edges. Let it dry completely (1–2 hours for lightweight spackle; it’ll turn uniformly white/light when dry).
Step 4: Second coat (feathering)
Apply a second, wider coat with the 6″ knife, feathering the edges out 4–6 inches beyond the patch. The goal is a gradual transition — you should barely feel an edge when you run your hand over it. Let dry fully. A third skim coat is worth it for patches in raking light (hallways, near windows).
Step 5: Sand smooth
Sand with 120-grit to knock down ridges, then 220-grit for a smooth finish. Sand lightly — you’re blending, not excavating. Wipe dust with a damp cloth. Pro tip: shine a flashlight at a low angle across the patch; it reveals every imperfection your overhead light hides.
Step 6: Prime and paint
Don’t skip primer on the patch. Bare compound absorbs paint differently than the surrounding wall, causing a visible “flashing” spot even with matched paint. One coat of primer (or paint-and-primer), then two coats of your wall color, feathering outward. For paint matching tips, see This Old House’s drywall repair guide.
Common Mistakes That Make Patches Visible
- Too much compound, too fast. Thick coats shrink and crack. Multiple thin coats always win.
- Painting before it’s fully dry. Damp compound under paint bubbles and peels. When in doubt, wait longer.
- Skipping primer. The number one cause of visible patches. Always prime bare compound.
- Wrong paint sheen. Touch-up with flat paint on an eggshell wall will show. Match the sheen, not just the color.
- Not feathering wide enough. A patch with a hard edge catches light. Feather, feather, feather.
Landlord / Rental Tips
Patching before move-out is one of the highest-ROI hours you’ll spend — it protects your security deposit. Take a photo of the wall color label if the landlord provided touch-up paint; otherwise, peel a small paint chip (from inside a closet) to the store for computer matching. And if the damage is bigger than “small” — a fist through the wall, say — be honest with yourself about whether it’s still DIY territory or worth a professional.
Texturing Your Patch to Match the Wall
A perfectly smooth patch on a textured wall stands out as much as a bad patch — the flat spot catches light differently. Match the texture: for orange-peel texture (the most common), use a spray can of orange-peel texture ($12) after priming — practice on cardboard first, light coats, then knock it down slightly with a drywall knife once tacky. For knockdown texture, spray heavier and flatten with the knife after 10–15 minutes. For smooth walls, just sand the patch extra fine — no texture needed.
The key insight: texture goes on after priming the patch but before the finish paint coats. Prime, texture, let dry, then paint. And keep expectations realistic — a perfect texture match takes practice. From normal viewing distance (not nose-against-the-wall inspection), a close match disappears completely. That’s the standard you’re aiming for, and it’s very achievable. For the painting that follows, our primer guide and painting mistakes to avoid will get you a flawless finish.
Patching in Textured vs. Smooth Walls
One more consideration: the techniques above assume standard smooth or lightly textured drywall. Heavily textured walls (knockdown, popcorn) need texture matching after the patch — spray texture cans ($12) replicate most patterns convincingly with practice on cardboard first. Plaster walls (pre-1960s homes) patch differently — use plaster-specific patching compound, which handles the harder, more brittle surface better than lightweight spackle. Match the material to the wall and the repair disappears.
The Bottom Line
Patching a small drywall hole yourself takes 30 minutes of active work plus drying time, costs under $20, and disappears completely when you follow the sequence: prep, patch, thin coats, sand, prime, paint. The patience between coats is the whole skill — rush the drying and it shows; respect it and the wall looks untouched. While you’ve got the spackle out, you might as well fix every ding in the room — and if you’re hanging things back up, our guide to hanging shelves without studs ensures you won’t be patching the same wall twice.