
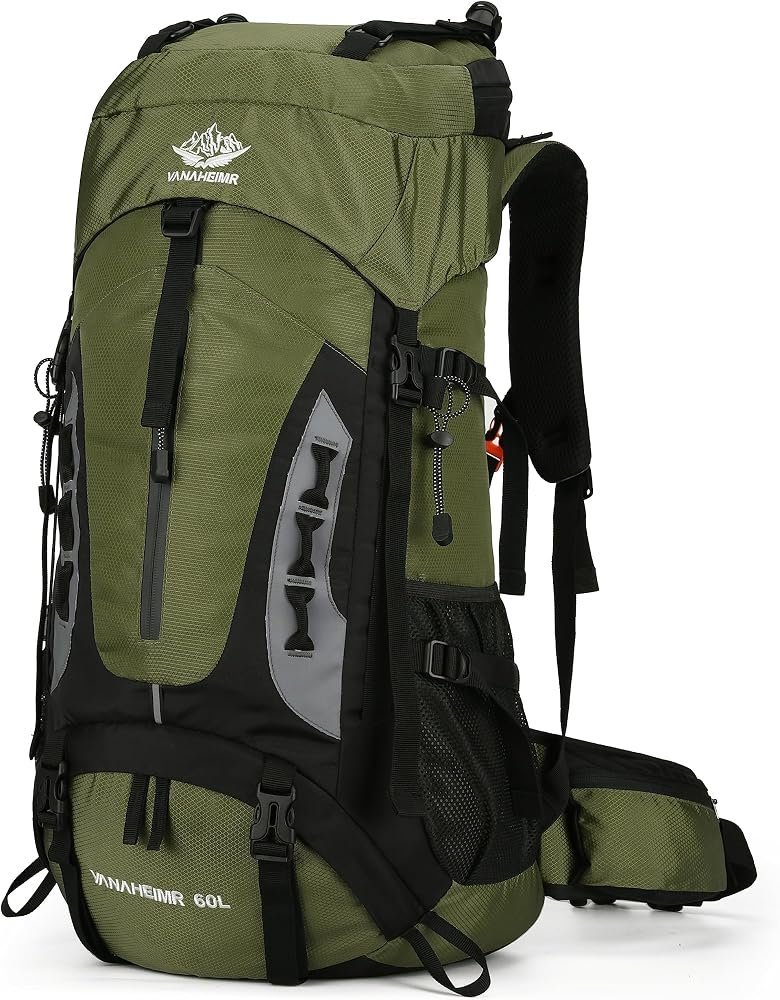
Backpacking with everything you own on your back is liberating — until you realize everything you own is also everything a thief wants. Passport, phone, camera, cash, cards: your entire life in one bag, in unfamiliar places, while you sleep in dorms with strangers. Learning how to keep your valuables safe while backpacking isn’t about paranoia; it’s about systems that make theft difficult, loss recoverable, and your trip enjoyable instead of anxious.
I’ve backpacked through regions famous for pickpockets and regions famous for hospitality, and the system below handled both. It’s built on one principle: don’t prevent theft through vigilance (exhausting) — prevent it through design (automatic).
The Layering Principle: Never Keep Everything Together
The cardinal rule: distribute, don’t concentrate. If one bag, pocket, or stash is compromised, you lose a fraction, not everything.
- Deep storage: Passport (the backup copy — carry a photocopy daily, keep the original secured), backup cards, emergency cash ($100–200 USD/EUR) — in a money belt or neck pouch under clothes, or locked in hostel lockers. Accessed rarely.
- Daily carry: One debit card, one credit card, day’s cash, phone, photocopy of passport — in a secure daypack or crossbody. This is what you’d hand over in a robbery without catastrophe.
- Decoy: A cheap wallet with a small amount of cash and an expired card. In a mugging, hand this over immediately and completely. Your safety is worth infinitely more than the $30 in it.
This layering means the worst realistic scenario (robbed of your daily carry) costs you a day’s cash and a card cancellation — annoying, not trip-ending.
How Can I Keep My Valuables Safe While Backpacking? The Gear
The anti-theft kit (worth every gram)
- Padlock(s): A small combination padlock for hostel lockers (most hostels provide lockers but not locks). Bring two — one for the locker, one for your bag’s zippers.
- Money belt or neck pouch: Flat, under clothes, for deep storage. Not the fanny pack worn outside — that’s just a labeled target.
- PacSafe-style slash-proof bag or wire mesh: For high-risk areas or when leaving bags in hostel dorms. Cable-lock your bag to the bed frame.
- Portable door lock: For private rooms and sketchy hostels ($10–15, see solo female traveler safety for the full kit).
Phone and tech
- Use an older/cheaper phone as your travel phone if possible — a $200 phone lost hurts less than a $1,200 one, and it’s less attractive to thieves.
- Enable Find My / tracking and know how to remote-wipe. Do this before departure, not after loss.
- Back up photos continuously — auto-upload to cloud. The photos are irreplaceable; the phone isn’t. (See organizing photos digitally.)
- Don’t flash expensive gear: Camera in a plain bag, not a branded camera backpack. Laptop stays in the hostel locker unless needed. The travel photography gear guide covers the inconspicuous-bag principle.
Behavioral Habits (The Free Protection)
- Front pockets or zipped compartments for phone/wallet in crowds. Back pockets are donation boxes.
- Bag in front on transit: Daypack worn on your chest in crowded metros and markets. It looks dorky; it works.
- Don’t leave valuables visible: Phone on the café table, bag on the chair back, laptop open at the beach — these are invitations. Keep things out of sight when not in use.
- Be situationally aware, not scared: Head up, notice who’s around, trust the uneasy feeling. Most theft is opportunistic — awareness removes the opportunity.
- Limit alcohol around valuables: Drunk + valuables = the pickpocket’s business model. If you’re going out, take the minimum: one card, small cash, no passport.
- Know the local scams: Every destination has 2–3 classic scams (the mustard squirter, the “helpful” ATM stranger, the friendship bracelet). A 10-minute read on destination-specific scams (Wikivoyage’s “Stay safe” sections are excellent) prevents 90% of them.
Hostel and Accommodation Security
- Always use the locker — even in “safe” hostels, even for short outings. It takes 30 seconds.
- Sleep with the irreplaceable: Passport, main cash, and phone in a pouch under your pillow or in your sleeping bag. Everything else locked up.
- Choose hostels with good security reviews — lockers in rooms (not hallways), keycard access, 24-hour reception. A few dollars more for a secure hostel beats any savings.
- Don’t advertise: Flashing cash, discussing your expensive gear loudly, leaving valuables charging unattended in common areas — all avoidable.
If the Worst Happens: Recovery Plan
- Phone stolen: Remote-wipe via Find My, change critical passwords (email first — it’s the key to everything), contact carrier to suspend.
- Cards stolen: Freeze via banking apps immediately (do this before calling — apps are faster). You packed backups separately, so you’re functional.
- Passport stolen: File a police report (needed for the embassy), contact your embassy/consulate for emergency replacement. This is why you have photocopies and digital scans — they massively speed the process.
- Travel insurance: If you have it (choosing coverage), theft is typically covered — file with the police report.
- Emergency contacts: Have your bank’s international collect-call numbers and embassy info saved offline (screenshot, not just in the cloud).
The Pre-Trip Security Checklist
Do this the week before departure — 30 minutes that prevents 90% of travel security disasters:
- ☐ Documents: Passport valid 6+ months? Photocopies packed separately? Digital scans in cloud + emailed to yourself? Visa requirements checked?
- ☐ Money: Two cards (different networks), stored separately? Bank notified of travel? Emergency cash ($100 USD/EUR) in deep storage? Bank’s international number saved offline?
- ☐ Tech: Find My / tracking enabled? Remote wipe tested? Photos on auto-upload? Travel phone or old phone ready? Chargers + power bank packed?
- ☐ Gear: Padlocks (2)? Money belt/neck pouch? Door lock? Cable lock for hostel dorms? Decoy wallet prepared?
- ☐ Insurance: Travel insurance purchased with theft coverage? Policy details saved offline? Claim process understood?
- ☐ Intel: Destination scams researched (10 min on Wikivoyage)? Emergency numbers saved? Embassy location noted? Check-in person briefed with itinerary?
- ☐ Home: Mail held? Someone checking the place? Social media set to post AFTER the trip, not during?
Laminate it mentally: documents, money, tech, gear, insurance, intel, home. Seven categories, thirty minutes, and you board the plane with the quiet confidence of someone whose worst case is already handled.
Before any trip, spend ten minutes on Wikivoyage’s destination guides — the “Stay safe” section for your destination lists the 2–3 classic local scams, which prevents the vast majority of them.
The Takeaway
Keeping valuables safe while backpacking means layering (deep storage, daily carry, decoy wallet — never everything together), carrying simple security gear (padlocks, money belt, door lock), building behavioral habits (front pockets, bags in front, situational awareness), using hostel lockers religiously, and having a recovery plan ready before you need it. Design beats vigilance: set the systems up once, then enjoy the trip instead of guarding your stuff. The world is overwhelmingly full of good people — these systems just handle the exceptions so you can relax around the rule.




One Comment