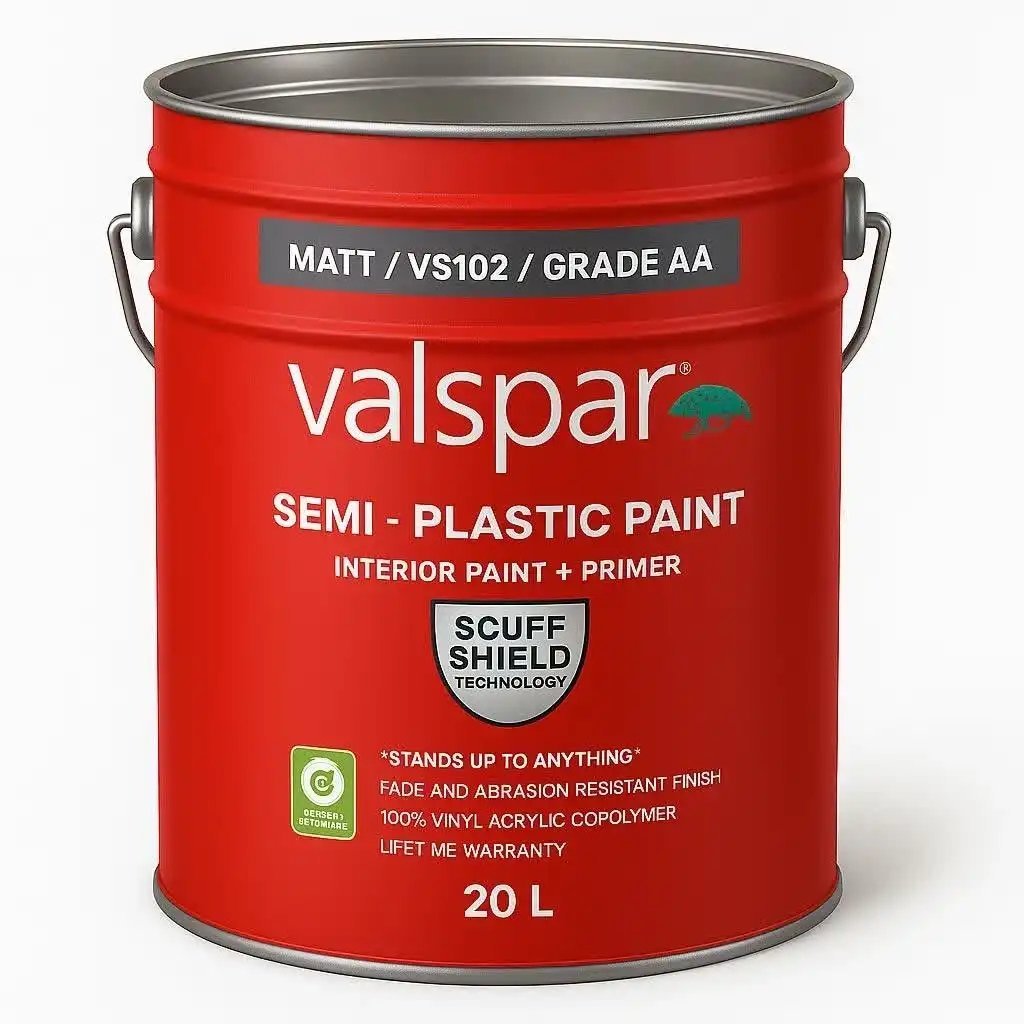
Standing in the paint aisle, you’ll see cans labeled “paint and primer in one” next to cans of dedicated primer, and it’s natural to wonder: what’s the actual difference between primer and regular paint? Are they just marketing? Can you skip primer? The short answer: primer and paint do fundamentally different jobs. Paint is the pretty, protective topcoat. Primer is the grip-and-seal foundation that makes paint stick, cover, and last. Here’s when each matters — and when you can skip the extra step.
What Primer Actually Does
Primer is engineered for adhesion and sealing, not for looks. Its resins are stickier than paint resins, designed to bite into surfaces and give the topcoat something to hold onto. Specifically, primer:
- Seals porous surfaces — bare drywall, wood, and masonry suck paint in unevenly; primer creates a uniform surface so the topcoat looks even
- Blocks stains — water marks, smoke, tannins bleeding through wood, crayon masterpieces — stain-blocking primers lock these in so they don’t ghost through your new paint
- Provides adhesion on tricky surfaces — glossy old paint, laminate, metal, tile — where regular paint would peel
- Creates uniform color base — going from dark red to light gray without primer means 3–4 topcoats; with tinted primer, two
- Improves durability — properly primed paint jobs simply last longer before peeling or fading
Think of it like makeup: primer is the base that makes everything on top look better and last longer. Skipping it works until it doesn’t.
What Regular Paint Does (and Doesn’t Do)
Paint’s job is color, sheen, washability, and protection from the elements. Modern paints are excellent at this — but they’re formulated with the assumption of a decent surface underneath. Paint is not designed to seal raw drywall, block stains, or grip glossy surfaces. It can do a little of each in a pinch (hence “paint and primer in one”), but it’s a compromise.
“Paint and primer in one” deserves a clear-eyed look: it’s thicker paint with extra resins — better than plain paint over previously painted walls in good condition, but not a substitute for real primer on bare drywall, stains, or dramatic color changes. The marketing oversells it. Pros still use dedicated primer for anything challenging.
When You Absolutely Need Primer
- Bare/new drywall — non-negotiable. Unprimed drywall gives you patchy, uneven results (see our drywall patching guide — every patch needs priming too)
- Bare wood — especially tannin-rich woods like cedar and redwood that bleed through paint
- Stains — water damage, smoke, nicotine, pet stains. Use stain-blocking (shellac or oil-based) primer
- Dramatic color changes — dark to light especially; tint the primer toward the new color
- Glossy surfaces — use bonding primer after a light sanding
- New masonry/concrete — needs masonry primer to handle alkalinity and porosity
- Covering wallpaper paste residue after removing wallpaper — seal it or the paint may fail
When You Can Skip Primer
- Repainting the same (or similar) color on walls in good condition — clean, lightly sand glossy spots, paint away
- Walls previously painted with quality latex that are clean, dull, and intact
- Minor touch-ups with matched paint
That’s genuinely it. “The walls look fine and I’m not changing much” is the only skip case. When in doubt, prime — a $30 gallon of primer is cheap insurance against a $200 paint job failing.
Choosing the Right Primer Type
- Latex/water-based: the default for drywall and most interior work. Easy cleanup, low odor, flexible.
- Oil-based: superior stain blocking and adhesion on tough surfaces; harder cleanup, stronger fumes. Being phased out in some areas but still the best for bad stains.
- Shellac-based (e.g., BIN): the nuclear option for severe stains, smoke damage, and odor blocking. Amazing, smelly, fast-drying.
- Bonding primer: for slick surfaces like tile, glass, laminate, or glossy oil paint.
- Masonry primer: for concrete, stucco, and brick.
Match the primer to the problem, not just the surface. And check out This Old House’s primer guide for brand-specific recommendations.
Application Tips
- One coat of primer is almost always enough — it’s not supposed to look perfect
- Tint primer toward the topcoat color for dark-to-light transitions (paint stores do this free)
- Let primer dry fully per the can’s directions before topcoating — rushing causes adhesion failure
- Primer isn’t a finish coat — it must be topcoated, as it’s not formulated to withstand wear, moisture, or UV
Primer and Paint Combinations That Work
Once you understand the roles, a few proven combinations cover nearly every interior project. New drywall: one coat of PVA drywall primer (cheap, designed for the job), then two coats of quality latex paint. Don’t use expensive paint as the first coat on raw drywall — it soaks in unevenly and wastes money. Repainting same color: clean, scuff-sand glossy areas, then two coats of paint-and-primer product. Dark to light: one coat of tinted latex primer (tinted toward the new color), then two coats of topcoat. Stains or smoke damage: one coat of shellac-based primer (nothing else truly blocks severe stains), then two coats of paint.
Exterior version: the stakes are higher outside — UV, rain, and temperature swings punish shortcuts. Always use exterior-rated primer on bare wood, and never skip it on new siding or trim. An exterior paint job with proper primer lasts 8–12 years; without it, expect peeling in 3–4. The primer can is the cheapest insurance in the entire project.
One last tip: buy primer and paint from the same manufacturer line when possible. They’re formulated to work together, and if anything fails, there’s one company accountable — not two pointing fingers at each other.
The Bottom Line
The difference between primer and regular paint: primer grips and seals; paint beautifies and protects. You need dedicated primer for bare surfaces, stains, dramatic color changes, and glossy substrates — and you can skip it (or use paint-and-primer) only when repainting similar colors on sound walls. It’s an extra $30 and a few hours that protects a much bigger investment in paint and labor. For your next project, budget it in from the start — our bedroom repaint cost breakdown includes primer in the math, and our painting mistakes guide covers what else to avoid.